
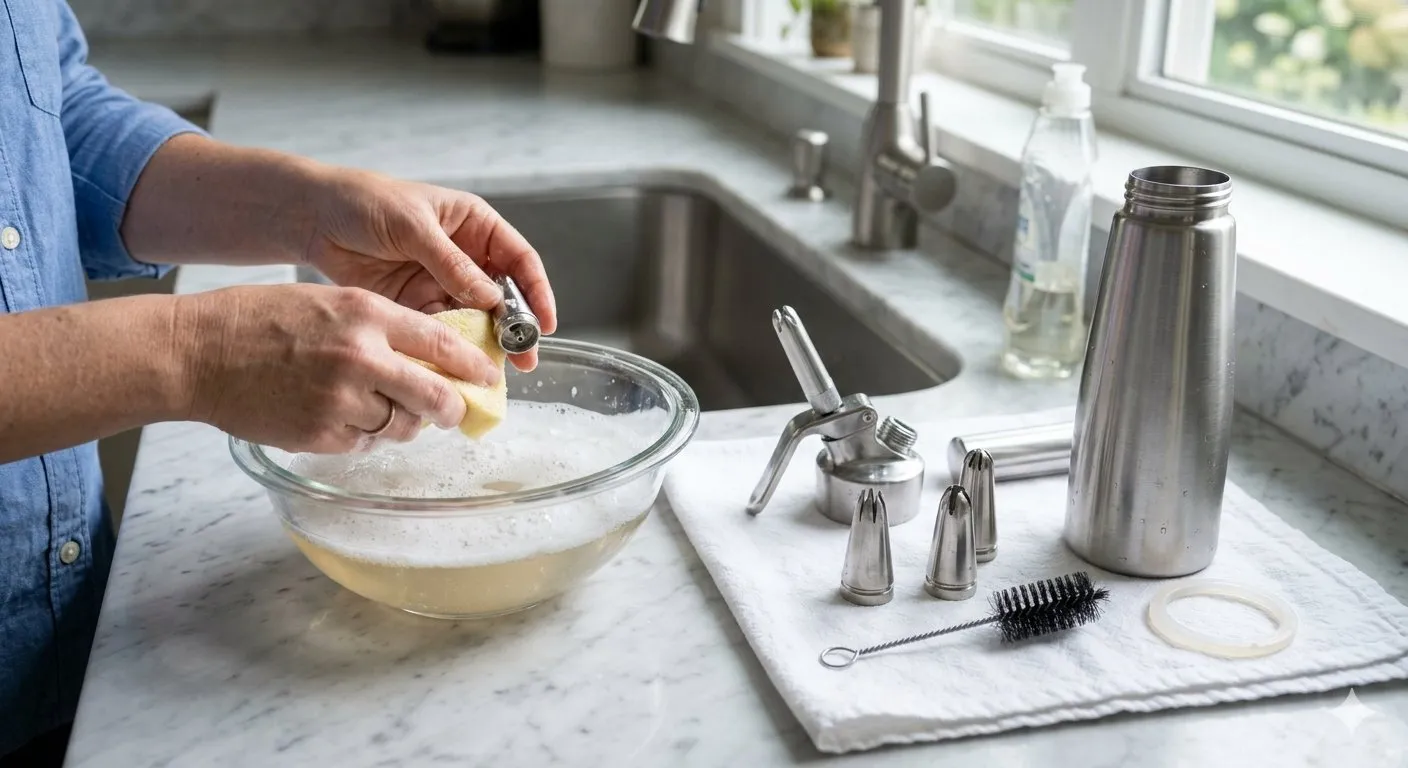
A cream dispenser is only as good as its last clean. Dairy residue left in the head, valve or nozzle can harden, harbour bacteria and spoil the flavour of your next batch. Regular maintenance also protects the rubber seals, which are the parts most likely to fail. Following a short routine after every use takes only a few minutes, keeps the bottle working smoothly for years, and ensures every serving of cream tastes fresh, clean and safe for family and guests.
Why Regular Cleaning Matters
Cream is rich in fat and protein, which means any leftover film turns rancid quickly, especially in warm kitchens. A neglected nozzle can also clog, forcing you to apply extra pressure that strains the valve. Poor hygiene can introduce unwanted bacteria and unpleasant smells into fresh cream. Cleaning immediately after use is far easier than scrubbing dried residue later, and it extends the working life of every component, so the habit quickly repays the small amount of time it takes.
Releasing Pressure and Disassembling Safely
Before disassembly, follow the manufacturer’s procedure for safely releasing remaining pressure. Never unscrew the head of a pressurised bottle, and stop if the nozzle appears blocked or any part is damaged. Never force a head that resists, because pressure may remain inside. Once open, remove the nozzle, valve, piston and gasket according to the manufacturer’s diagram. Lay the parts on a clean towel in the order you removed them, which makes reassembly simple and prevents small pieces from going missing.
Washing the Bottle and Head
Rinse each part under warm running water to flush out loose cream, then wash with mild washing-up liquid and a soft bottle brush. Avoid steel wool and harsh abrasives, which scratch the surface and create hiding places for residue. Many stainless steel bottles tolerate a dishwasher, but heads with rubber components and aluminium parts often do not, so check the instructions first. Rinse thoroughly afterwards so that no soap taste lingers, because even a tiny trace can ruin delicate whipped cream.
Cleaning the Nozzle and Valve
The narrow channels in the nozzle and valve collect the most residue, so they deserve special attention during every single wash. Most dispensers include a small cleaning brush for exactly this purpose, and it reaches areas that ordinary sponges cannot. Soak the tip in warm, soapy water for ten minutes, then push the brush through the opening several times. Hold the part up to the light to confirm the channel is completely clear, and rinse again under clean running water before you begin drying.
Caring for the Gasket and Seals
The silicone gasket creates the airtight seal that lets pressure build, so inspect it every time you clean. Look for cracks, flattening, stretching or discolouration, and replace it at the first sign of wear. A worn seal often causes hissing leaks and weak, runny cream. Wipe the gasket gently with a damp cloth rather than scrubbing it hard, and keep a few spares in a drawer. Replacement seals are inexpensive, widely available and far cheaper than replacing a whole dispenser.
Drying and Storing Properly
Moisture trapped inside the head can encourage mould and staining, so dry every component fully before reassembling. Use a clean, lint-free cloth to remove surface water, then let the parts air-dry for an hour on a rack. Store the bottle with the head loosely fitted or separate, which allows air to circulate and prevents stale smells. Keep the dispenser in a cool cupboard away from direct heat and never leave it in a hot car, in direct sunlight or beside the oven.
Common Problems and Quick Fixes
If cream sprays unevenly, the nozzle is usually partly blocked, so clean it carefully with the brush provided. If gas escapes around the head, check that the gasket is seated flat and not damaged. If cream emerges thin, the cream may be too warm or too low in fat. A dispenser that will not release any cream at all often contains a stuck or dirty valve, which a thorough soak and gentle cleaning typically resolves without any need for repairs.
Conclusion
A short cleaning routine after every use helps protect flavour, hygiene and the working life of a dispenser. Pay attention to the nozzle, valve and seals, and never try to dismantle equipment while it is under pressure. Keeping replacement components available can prevent small problems from disrupting kitchen service. For those comparing culinary gas supplies, smartwhip.eu is a useful starting point for product research. Ultimately, clean equipment and correct handling matter more than any shortcut promising quicker results.
